
When it comes to shipping items-whether for personal gifts, online orders, or business deliveries-the way you address a shipping box has a direct impact on whether your package arrives safely, on time, and to the correct recipient. A clear, legible, and correctly formatted shipping label helps postal carriers, couriers, and logistics personnel process and route your package efficiently. This guide covers everything you need to know about addressing a box for shipping: from gathering the required information to writing it on the box, choosing the right label, protecting against damage, and complying with carrier-specific guidelines.
1. Gather Complete Address Information
Before you put pen to cardboard, collect all necessary details for both the sender (your “From” address) and the recipient (the “To” address). An incomplete or inaccurate address can lead to delays, misdeliveries, or returned packages.
1.1 Sender Information (“From”)
- Full name or company name
- Street address, including apartment or suite number
- City, state/province, and ZIP or postal code
- Country (for international shipments)
- Return phone number or email (optional but recommended)
1.2 Recipient Information (“To”)
- Full name or company name
- Street address, including apartment, suite, or unit number
- City, state/province, and ZIP or postal code
- Country (for international shipments)
- Recipient phone number (some carriers require this for delivery notifications)
2. Choose the Right Labeling Method
You have two primary ways to present the shipping information on your box:
- Handwritten
- Pre-printed label
2.1 Handwritten Labels
- Use a permanent black marker-avoid ballpoint pens or markers that smear.
- Write in clear, block letters at least ½-inch high so that address lines are legible from a distance.
- Keep ink away from seams or edges where it might rub off or smear.
2.2 Pre-Printed Labels
- Generate and print labels using USPS, UPS, FedEx, DHL, or your shipping platform.
- Use self-adhesive labels designed for shipping-standard letter-size (4”×6”) labels work best.
- Ensure your printer settings are correct so text and barcodes scan accurately.
3. Format the Address Correctly
Proper formatting ensures automated sorting machines and human handlers accurately parse your information.
3.1 United States Address Format
Use uppercase letters, omit punctuation, and follow this order:
TO: RECIPIENT NAME STREET ADDRESS OR P.O. BOX CITY STATE ZIP CODE
FROM: SENDER NAME STREET ADDRESS OR P.O. BOX CITY STATE ZIP CODE
Example (handwritten): TO: JANE DOE 123 MAIN ST APT 4B LOS ANGELES CA 90015
FROM: JOHN SMITH 456 OAK AVE CHICAGO IL 60605
3.2 International Address Format
International addresses vary by country. In general:
- Write the recipient’s address in the local format.
- Include the country name in English on the last line, in uppercase.
- Use internationally understood abbreviations (e.g., “ST” for street).
Example (to the UK): TO: MR. ALAN TAYLOR FLAT 10, 22 KING’S ROAD LONDON SW3 5XT UNITED KINGDOM
FROM: YOUR NAME YOUR STREET ADDRESS CITY, STATE ZIP USA
4. Position Your Labels Carefully
4.1 Flat Surface Orientation
- Place the label on the largest, flattest side of the box.
- Avoid edges or corners where label may wrinkle or peel.
- Do not wrap labels around seams.
4.2 Multiple Packages
- If shipping several boxes to the same address, each box needs its own complete label.
- Clearly mark each box with “1 of 3,” “2 of 3,” etc., if the shipment is multi-piece.
4.3 Avoiding Obstructions
- Keep labels free of tape covering critical information or barcodes-if tape is necessary, use clear packing tape and avoid air bubbles.
- Remove or thoroughly cover any old labels or stickers on reused boxes. Carriers may misroute packages if old barcodes remain visible.
5. Use Supplementary Shipping Documents (When Required)
Depending on the carrier and shipment type, you may need additional documents:
5.1 Customs Declaration
- Required for international shipments.
- Typically generated online at your carrier’s website.
- Contains details on contents, value, and origin.
5.2 Commercial Invoice
- Required for business shipments outside the United States.
- Lists item descriptions, quantities, values, harmonized tariff codes.
5.3 Return Labels
- When including a prepaid return label in the box:
- Shrink-wrap the return label inside a clear pouch and affix to an inside panel, or
- Print the return label separately for the recipient to add later.
6. Best Practices to Ensure Safe Delivery
6.1 Waterproofing and Protection
- Use clear packing tape over the entire label to prevent moisture damage.
- Do not obscure barcodes-cover only the white background areas.
- For very rough handling routes (e.g., air freight in wet climates), consider a plastic shipping pouch.
6.2 Distinctive Markings
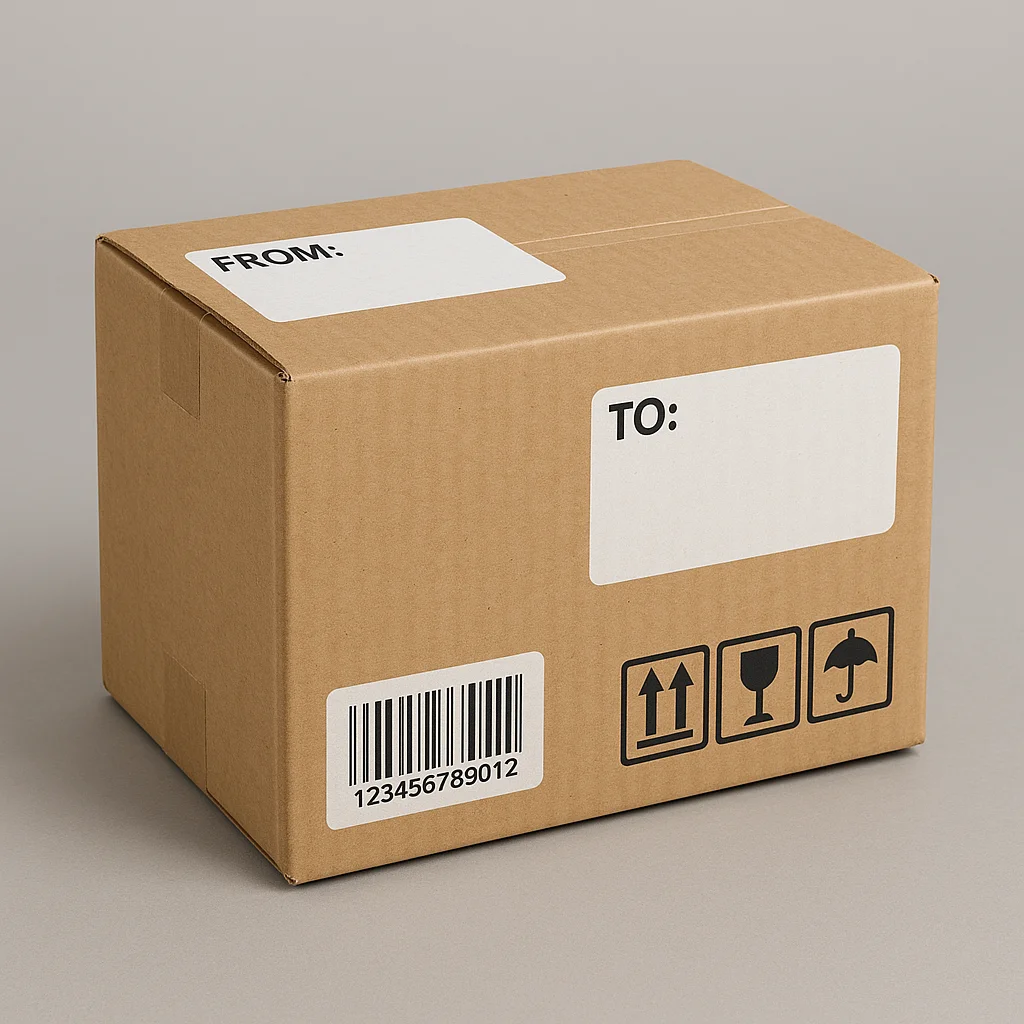
- Add handling instructions if needed-e.g., “FRAGILE,” “THIS SIDE UP,” etc.
- Use standardized symbols for “Fragile,” “Handle with care,” “Do not stack.”
6.3 Tracking and Insurance
- Purchase tracking to monitor delivery in real time.
- Insure valuable items to cover loss or damage in transit.
- For signature-required service, confirm who must sign for receipt.
7. Carrier-Specific Guidelines
Each shipping carrier has its own best practices and label requirements. Always review the latest guidelines on the carrier’s website.
7.1 USPS (United States Postal Service)
- Use USPS-approved labels or handwrite addresses in black ink.
- Barcoded stickers (e.g., USPS Tracking) must remain scannable.
- For Express or Priority Mail, use Priority Mail branded boxes and labels.
7.2 UPS (United Parcel Service)
- Print labels on plain white or UPS-provided adhesive label stock.
- Include UPS “ship from” information in upper left corner.
- Do not write on top of barcodes-UPS scans barcodes for routing.
7.3 FedEx
- Use FedEx labels generated from FedEx Ship Manager or web services.
- Place the FedEx Air Waybill in a clear pouch or print directly on the box.
- Adhere to the maximum package dimensions for ground vs. express.
7.4 DHL
- International shipments require DHL Express Waybills and proforma invoices.
- Place the waybill pouch on the top surface of the box.
- Write in block letters if hand-completing waybills.
8. Common Pitfalls and How to Avoid Them
| Pitfall | Solution |
|---|---|
| Illegible or smudged handwriting | Use printed labels or permanent marker. |
| Incorrect ZIP or postal code | Double-check via USPS or local postal service lookup. |
| Multiple labels/confusing stickers | Remove old labels; use a single clean label surface. |
| Address lacking apartment/unit number | Confirm with recipient and include the full unit info. |
| Label on uneven/curved surface | Repackage or place on a flat box surface. |
| Tape covering barcode | Use minimal tape, avoid covering barcodes area. |
9. Step-by-Step Checklist
Before dropping your box at the drop-off point or scheduling a courier pickup, verify:
- Recipient and sender addresses are complete and correct.
- Address is formatted per the carrier’s standards.
- Label is securely affixed to the largest flat side, free of wrinkles.
- Old labels and barcodes have been removed or obscured.
- Necessary customs or commercial documents are attached.
- Tape protecting the label does not obscure scannable barcodes.
- Any handling instructions (e.g., “Fragile,” “Keep Upright”) are clearly visible.
- Shipment is registered/tracked and insured if necessary.
10. Additional Tips
- Recycled Boxes: When reusing boxes, remove or cover any old labels completely to avoid misrouting.
- Digital Address Book: Store validated addresses in your carrier account or shipping software to avoid typos.
- Test Print: Print one test label to ensure alignment and scannability before printing bulk shipments.
- Weather Considerations: If shipping in rain or extreme humidity, consider lamination or pouch protection for labels.
Addressing a shipping box with precision and clarity not only helps ensure your package reaches its destination promptly and intact but also streamlines the carrier’s processing and reduces the chance of human error. By carefully collecting accurate address information, choosing the proper labeling method, following carrier-specific guidelines, and double-checking each step on a comprehensive checklist, you can ship confidently-whether it’s a personal gift across town or a commercial parcel around the world.
Leave a Reply