
Properly labeling and placing a shipping label on a box is a critical step in ensuring packages arrive safely, on time, and without unnecessary delays. Carriers like UPS, FedEx, DHL, USPS, and others have specific guidelines for label placement, orientation, and visibility. Mistakes in labeling can lead to misrouting, damage, or even the return of the package to the sender. This guide provides an in-depth look at everything you need to know about preparing, labeling, and affixing shipping labels to a box-covering best practices, carrier requirements, troubleshooting tips, and special considerations for domestic, international, and fragile shipments.
1. Why Proper Labeling Matters
- Accurate Scanning and Routing: Shipping labels contain barcodes that automated sorting machines scan. Poor placement, wrinkles, folds, or obstructions can prevent accurate scanning, resulting in delays or misdeliveries.
- Prevention of Damage: A clearly visible label helps handlers identify the correct orientation and shipping instructions, reducing the risk of mishandling.
- Compliance with Carrier Policies: Carriers enforce label-placement guidelines. Noncompliance may incur additional fees or refusal of service.
- Brand Image and Professionalism: Neatly applied labels demonstrate attention to detail and professionalism, reflecting positively on your business.
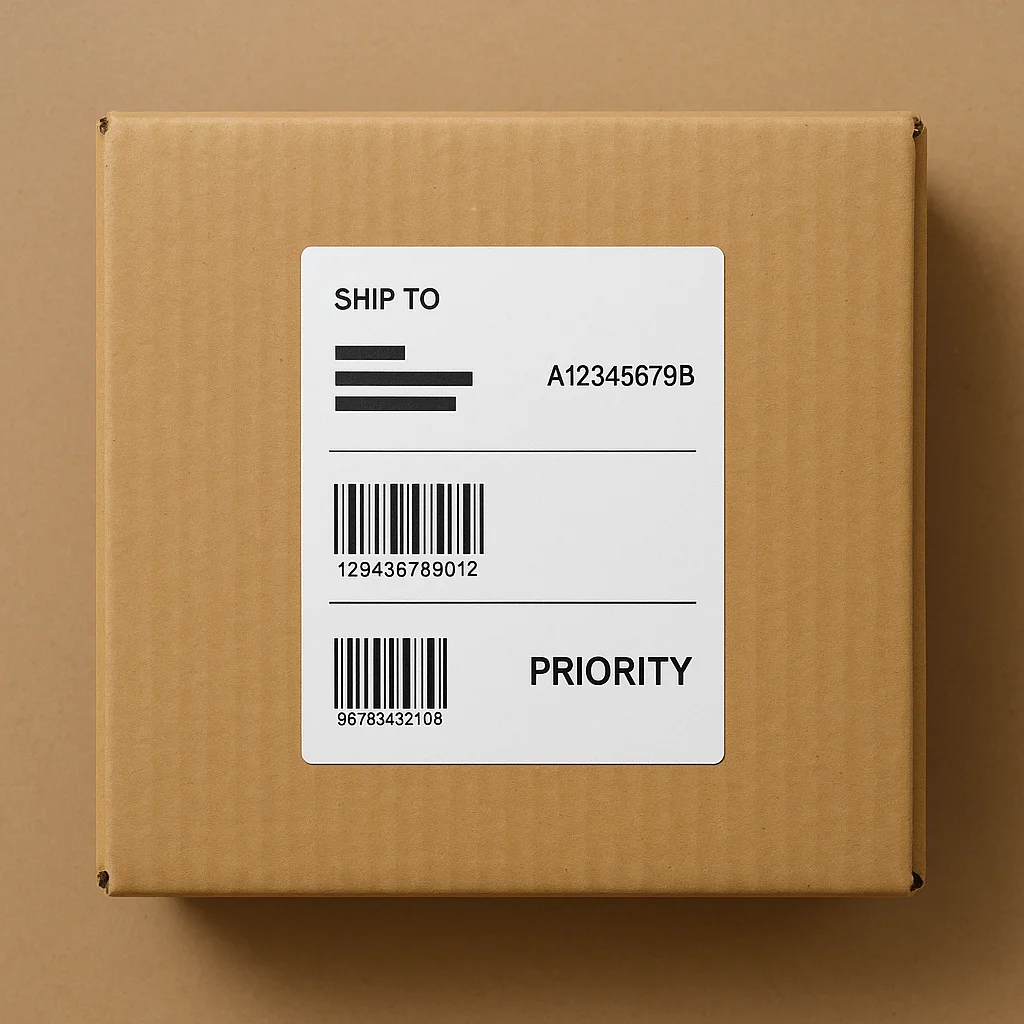
2. Components of a Standard Shipping Label
A typical shipping label includes:
- Recipient Address: Name, street address, city, state/province, postal code, and country (for international).
- Sender (Return) Address: Same details for your location.
- Tracking Barcode: Unique barcode or QR code used for scanning.
- Carrier Information: Logo, service level (e.g., “Ground,” “Priority Overnight”).
- Weight and Dimensions: Declared weight and “DIM” measurements.
- Special Service Icons: “Fragile,” “This Side Up,” “Do Not Stack,” if applicable.
- Customs Declaration (International): CN22/CN23 forms for customs.
3. Preparing the Box
Before attaching the label, ensure the box is properly prepared:
3.1 Selecting the Right Box
- Use a sturdy corrugated cardboard box rated for your package weight.
- Avoid overly worn or reused boxes that may collapse under weight.
- Size the box so there’s minimal void space-fill gaps with cushioning (bubble wrap, packing peanuts, crumpled paper).
3.2 Sealing the Box
- Seal all flaps with high-quality packing tape:
- H-Taping Method: Run tape along the center seam, then across all edges in an “H” pattern.
- Use tape at least 2–3 inches wide.
- Ensure no bulges, gaps, or open seams remain.
3.3 Surface Preparation
- Clean any dusty or oily residues; labels adhere best to clean surfaces.
- If using a reused box, peel off old shipping labels, barcodes, and stickers. Residual marking may confuse carriers.
4. Label Placement Guidelines
4.1 Ideal Placement Area
- Front “Top Panel”: The largest, flattest side of the box, typically called the “top panel.” Place the label here whenever possible.
- Avoid placing labels over corners, seams, or edges where they may wrinkle.
- Keep labels away from tape seams-tape over corners of the label only to secure edges, not across the barcode.
4.2 Orientation
- Ensure the label’s barcode runs parallel to the bottom of the box (landscape orientation). This facilitates easy scanning on conveyor belts.
- The recipient address should be upright and legible.
4.3 Clearance Space
- Leave at least 1 inch (2.5 cm) of clear space on all sides of the label. This “white space” helps automated scanners read the barcode without interference.
4.4 Multiple Labels & Ancillary Stickers
- If special-service stickers (e.g., “Fragile,” “Perishable”) are needed, place them above or below the shipping label, not covering any part of it.
- For international shipments requiring customs forms, use a clear plastic pouch placed adjacent to or above the main label.
4.5 Avoiding Problematic Placements
- Do not place labels on:
- Curved surfaces.
- Seams or flaps that may open.
- Overlapping multiple labels.
- Areas likely to get scratched or torn.
5. Affixing the Shipping Label
5.1 Adhesive Labels
- Many carriers provide adhesive shipping labels. Peel off the backing and firmly press the label onto the box.
- Use a hard roller or your palm to smooth out wrinkles or bubbles.
5.2 Non‐Adhesive Labels
- Remove the protective backing and adhere the pouch to the box.
- Alternatively, clear packing tape can be used: – Place the printed label on the box. – Cover it fully with clear packing tape, ensuring the tape is wrinkle-free and does not obscure text.
If you print on plain paper:
Insert the label into a self-sealing, weatherproof shipping pouch.
5.3 Weatherproofing
- In wet or humid conditions, use waterproof labels or pouches.
- Clear packing tape across the entire label face ensures moisture won’t smear ink.
6. Special Considerations
6.1 Retail/Drop‐off Locations
- Some drop-off counters require orientation with the barcode facing up for manual scans. Always follow the counter’s guidance.
6.2 Warehousing and Fulfillment Centers
- If shipping via integrated fulfillment, follow the warehouse’s label format and placement guidelines, often affixing labels in predesignated “label zones.”
6.3 International Shipments
- Customs declarations must be visible:
- Place alongside or above the address label.
- Use a designated pouch to hold all documents.
- Avoid placing labels over customs declaration areas.
6.4 Hazardous Materials
- Additional placards or diamond labels may be mandated.
- These placards have specific location and orientation rules; typically, they go on at least two opposite sides of the box, separate from the shipping label.
6.5 Oversized or Irregular Packages
- For cylinders, tubes, or odd‐shaped items, affix a flat, rigid panel (e.g., cardboard) to provide a flat label surface.
- Strap or band labels may be used for drum shipments.
7. Common Mistakes and Troubleshooting
| Mistake | Problem Caused | Recommended Fix |
|---|---|---|
| Label on corner or seam | Wrinkles prevent barcode scanning | Reprint and place on center of top panel |
| Multiple overlapping labels | Old barcodes get scanned accidentally | Remove old labels; ensure only current label is visible |
| Incomplete tape coverage | Label lifts or tears | Tape all four edges; use weatherproof pouch if needed |
| Poor print quality | Blurry barcode | Ensure printer settings are high‐quality, use suitable labels |
| Writing over label | Scanner reads incorrect info | Place any hand‐written notes separate from barcode area |
8. Step-by-Step Labeling Process
- Print & Inspect: Verify all address fields, barcodes, weight, and service level are correct and legible.
- Prepare Box: Seal and clean the top panel.
- Select Placement: Identify the flattest, largest panel.
- Affix Label:
- Peel-and-stick or
- Insert into pouch or
- Tape securely with clear shipping tape.
- Smooth Surface: Eliminate air bubbles and wrinkles.
- Add Ancillary Stickers: Place “Fragile,” “Do Not Stack,” or custom notices adjacent, not overlapping.
- Verify Visibility: Confirm barcode and address are unobstructed and upright.
- Document & Drop Off: Take a photo of the labeled package for record-keeping, then hand off to carrier.
9. Tips for High-Volume Shippers
- Standardize Label Zones: Pre-print “label zone” rectangles on boxes to guide warehouse workers.
- Use Automatic Label Applicators: In large operations, automated label applicators ensure consistent placement.
- Integrate Software: Shipping software can format addresses, optimize label size, and include promotional graphics without compromising barcode readability.
- Train Staff: Regularly refresh training on label placement and carrier updates.
10. Conclusion
Correct labeling and placement of shipping labels are imperative to ensure packages are handled properly, scanned accurately, and delivered on time. Following carrier guidelines-choosing the right panel, orienting barcodes correctly, maintaining clear space, and using proper adhesion methods-mitigates the risk of delays, reroutes, or additional charges. Whether you ship a few packages a week or run a large fulfillment operation, adhering to these best practices preserves your brand reputation, customer satisfaction, and operational efficiency. By integrating clear procedures, staff training, and reliable materials, every package you send will meet carrier standards and arrive at its destination precisely and professionally.
Leave a Reply